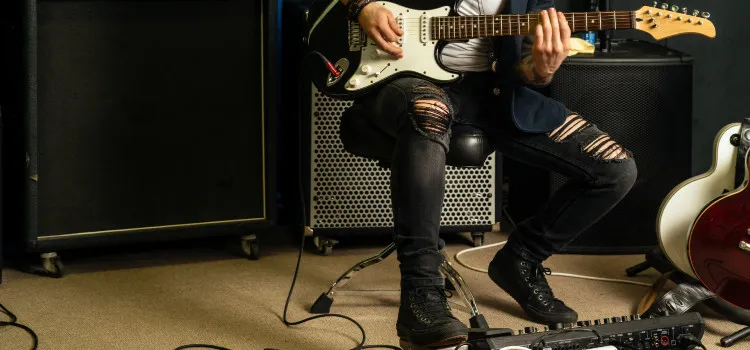
You play a chord progression, then solo over it without a band in the room. That’s the pull of a looper pedal, and it changes how you practice and write alone.
The hangup is usually the wiring. Plug it in at the wrong spot in your chain and the loop sounds thin, or it picks up effects you never wanted recorded.
This guide shows you where the looper belongs in the signal path, which cables each connection needs, and how to add an aux source. Get those right and recording a loop becomes simple.
Let’s start with how a looper fits into your signal chain.
How a Looper Pedal Fits in Your Signal Chain
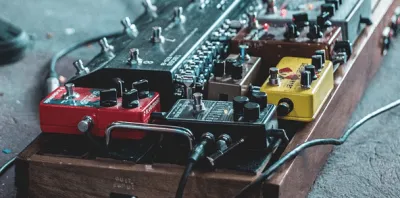
A looper records whatever signal reaches it, so its position in your chain decides what gets captured in the loop. In almost every setup, the looper sits last, after your other pedals and right before the amp.
That way the loop captures your fully effected tone, including any overdrive, delay, or modulation you’ve dialed in.
Placing the looper at the end also lets you change your live sound on the fly without altering the recorded loop. You can lay down a clean rhythm part, then switch on distortion and solo over the top while the original loop keeps playing untouched.
If you’re still choosing a unit, our guide to the best looper pedal options breaks down what to look for in terms of loop length, overdub layers, and footswitch controls.
How To Connect A Looper Pedal To An Amp
If you want to use a looper pedal with your guitar or bass, you connect it between your instrument and the input of your amp. The connections are very similar across guitars and basses, so the steps below apply to either one.
The easiest way to do this with an electric instrument is through standard 1/4-inch jacks.
The process is simple:
- Plug your guitar or bass into the input jack of your first pedal (or directly into the looper’s input if the looper is your only pedal).
- Run the output of your looper pedal into the input of your amp.
- Power the looper if it requires it, using a dedicated power supply rather than relying on a low battery.
If your amp has an effects loop, you have the option of running the looper through the loop’s “send” and “return” jacks instead of the front input. This keeps the loop after your amp’s preamp gain.
It isn’t required, though, and plugging straight into the front input works fine for most players.
What Cable Do You Need With A Looper Pedal?
For a 1/4-inch connection you need a standard instrument cable with a 1/4-inch plug on each end. Use one cable from your instrument to the pedal and another from the looper’s output to the amp.
Keep cable runs as short as practical to reduce noise and signal loss.
If your looper doesn’t require external power, cable length is flexible and you can use whatever fits your board. If your looper does require power, you’ll also need the correct power supply for that pedal.
A 9V adapter is the most common, but always check the pedal’s voltage and polarity before plugging anything in to avoid damaging it.
How To Plug Aux Into A Guitar Loop Pedal
Many loopers include an auxiliary input so you can play along with a backing track or song from a phone or media player. To use it, plug your aux cable into the looper’s dedicated aux or “line in” jack.
The other end connects to the headphone or line-out jack of your phone, laptop, or media player.
The aux source then mixes with your instrument signal and passes through the looper’s output to your amp. If your looper has no dedicated aux jack, you can instead route the external audio into a separate channel on your amp using a 1/4-inch cable and the appropriate adapter for the device’s output, keeping the looper purely for your instrument.
Common Setup Mistakes to Avoid
A few small errors account for most looper frustration. Catching them early saves you from chasing problems mid-practice.
- Putting the looper first in the chain. This records a dry, uneffected signal and makes it hard to layer tones. Keep it last unless you have a specific reason not to.
- Reversing input and output. Double-check that your instrument feeds the input and the amp feeds off the output. Swapping them produces no sound or a very weak signal.
- Running on a dying battery. A weak battery causes volume drops and noise. A dedicated power supply is more reliable for any pedal you use regularly.
- Mismatched volume levels. If overdubs sound louder or quieter than your live playing, adjust the looper’s level controls so recorded loops sit at the same volume as what you play on top.
Frequently Asked Questions
Can you use a looper pedal without an amp?
Yes. Most loopers have a 1/4-inch output and headphone-friendly options, so you can run the output into an audio interface, a small monitor, or headphones for silent practice.
You won’t get your amp’s tone shaping that way, but it’s convenient for recording or playing quietly.
Does a looper pedal go before or after distortion?
Generally after distortion. Placing the looper at the end of your chain means it records your distorted tone exactly as you hear it, and you can keep tweaking gain and effects live without changing the recorded loop.
Do you put a looper in the effects loop?
You can, but you don’t have to. Running the looper through your amp’s effects loop places it after the preamp, which suits players who get their core tone from the amp itself.
Plugging into the front input works just as well for most setups.
Why does my looped track sound quieter than my live playing?
This usually comes down to level matching. Use the looper’s volume or level controls to balance the recorded loop against your live signal, and make sure you recorded at a healthy input level in the first place rather than too soft.
Final Thoughts
Setting up a looper pedal with an amp comes down to a single rule: put the looper last, feed your instrument into the input, and send the output to the amp. With a couple of quality 1/4-inch instrument cables and the right power supply, you’ll be recording and overdubbing in minutes.
From there, experiment with where you sit in the chain relative to your other effects, and try the aux input if you want to jam along with backing tracks. Small adjustments to level and placement make a big difference in how clean and musical your loops sound.
Once the wiring is second nature, the looper stops being a piece of gear to fuss over and becomes a genuine creative tool, letting you build full arrangements, practice your timing, and write songs entirely on your own.